
Many kinds of garden buildings are widely available for self-assembly, bringing the opportunity to save a little money by erecting one for yourself. Although the prospect can sometimes seem a little daunting, especially if you have never put one up before, the instructions from most manufacturers are very clear, which makes for a fairly simple job.
Some types of buildings are more elaborate and difficult to erect than others, but generally speaking the task is well within the capabilities of the averagely competent DIYer, though at least one extra pair of hands – and preferably more – is a must.
Getting Started
Whatever building you are putting up, it will need to be laid on a firm sub-base – typically a well-compacted bed of hardcore – which holds the main support or foundation. The nature of this and how much work is involved in making it, depends on the size and type of construction.
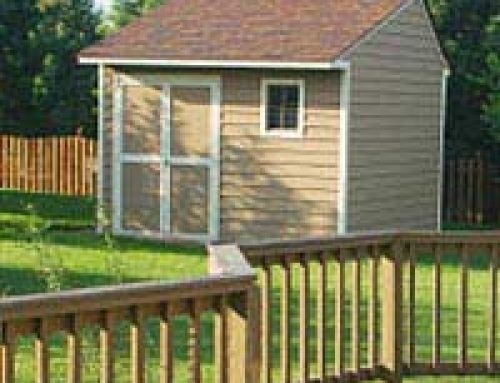
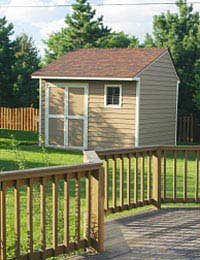
Many small sheds and summerhouses, for instance can be seated on “bearers” rather than a concrete slab. These are pressure-treated beams which hold the floor up off the ground to stop it from becoming wet and spread the weight of the finished building. Some people also like to use a good quality damp-proofing material as well to make the water-proofing even more effective.
For larger and heavier buildings, a proper concrete foundation will be required, at least 4 inches (10cm) of concrete, sitting on a 6-inch (15cm) layer of consolidated hardcore. It is obviously important that whether you are using bearers or concrete, you make sure that the base is level – and in the case of concrete, properly dry – before starting the erection work.
It is worthwhile taking the time to have a good read through the instructions and thoroughly familiarise yourself with the process, identify all the parts – making sure everything is there – and collect all the tools together that you are going to need.
Taking Shape
Different makers have their own way of doing things and the type of building changes some of the details, but generally speaking, the overall sequence of events begins with placing the floor on the foundation and then locating one of the sides in the appropriate place.
Most kits mark guide points on the components to allow you to align them with each other without too much difficultly – and for those which do not, it is worth taking the time to measure up and make a few suitable marks for yourself.
With help, prop the next side against the first one and then fix the two together – usually screwing the frames together, where they meet in the corner; many kits come with these holes ready-drilled. Once all of the sides have been secured to each other, the next step is to add the roof, which sometimes requires beams or other support structures to be fixed in place first.
The roofing panels themselves will need to be lifted into place one at a time and secured. Once everything is firm, the final step in the main assembly is usually to screw the whole structure down to the wooden floor. The roof will then need to be felted and this job is definitely not something to be rushed; getting it wrong can condemn you to a very wet and leaky building, so it is important to follow the instructions very carefully, especially when it comes to allowing adequate overlaps.
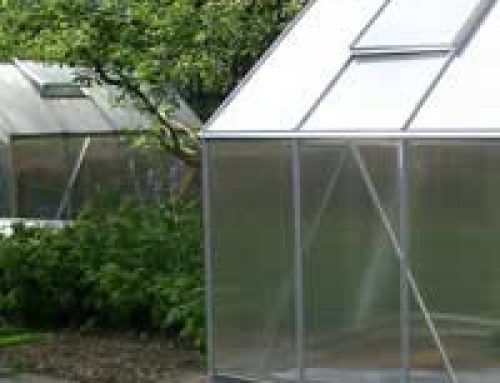
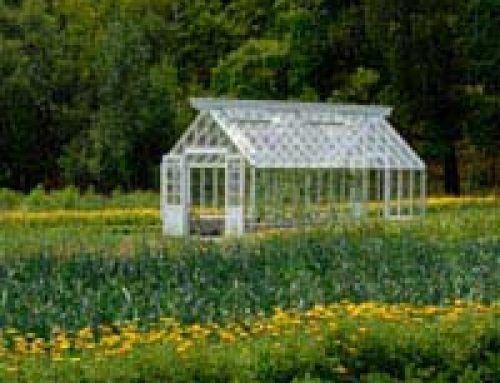
Glazing the building is usually the last step, the size and type of structure determining just how big a job this ends up being. Many small sheds, for instance, come with acrylic or Perspex windows, which makes things fairly swift and stress-free; the same is not just so true of glass-glazed greenhouses!
The reality of putting up your own building is seldom anything like as difficult as it might seem and provided you lay a good base, pick a wind-free day and follow the instructions, you should soon have a building to be proud of – and the extra satisfaction of knowing that you did it yourself.

Leave A Comment